Showing posts with label modular origami. Show all posts

13 Feb 2018

Learn to make Origami Heart Clover for decoration this Valentine


Looking for last minute ideas for Handmade gifts or decorations for this Valentine's?
You have landed on the right page...Through this post today, you will learn to fold an origami Heart Clover that you can use to make decorations for cards, gift toppers and more...

Tutorial by Art Hours


Category: Modular Origami
Level of difficulty: On a scale of 5,  I would give it a 3.
Heart Clover Origami

Below is a picture tutorial, followed by a written step by step explanation, that will guide you to make this model.

Material used:
8.75cm x 8.75cm square sheets cut out from the printer paper. Requires 4 such square units. You can use any square sized sheets depending upon the requirement.

Procedure:
Steps to follow as per the picture above for making the Clover unit. 
If you are using a two-sided different colored paper, start with white side on the top and proceed with the instructions in the same way.

Heart Clover Unit 

Instructions to make the Heart Clover Unit:
  1. Fold in half along the centers to make the horizontal and vertical creases and then open it. Note the hidden lines for the fold in the next step.
  2. Fold in as shown.
  3. Turn over and note the hidden lines for the next fold.
  4. Fold along the hidden lines to meet at the centre.
  5. Turn over and note the hidden lines to make the next fold.
  6. Fold along the hidden lines.
  7. Now focus on the upper part of the unit. Squash open the folds and fold as shown.
  8. Note the hidden lines for the next fold.
  9. Fold in both the sides along the hidden lines to meet at the centre.
  10. Fold in the top triangles along the indicated hidden lines.
  11. Turn over and one heart unit is ready.
Tutorial by Art Hours
Heart Clover Model Assembly

Instructions to assemble the model:
  1. Follow the instructions above and make a total of 4 units.
  2. Insert units one by one, below each other as shown in the picture above and glue them. The heart clover model is ready.

You can use this origami model to make greeting cards or decorate the gifts by using them as gift toppers and gift them to your dear and near ones this Valentine's season. Your friends will love receiving gifts made by hand and if it is such a pretty thing, your efforts will surely be appreciated.

Hope this tutorial inspires you to make many such beautiful origami models.

Thank you for stopping by.

Have a nice day ahead and... yes...wishing you all a very Happy Valentine's Day. 
Keep folding and spreading peace and love.

---

27 Jan 2018

Origami Sunburst Star Tutorial


“When it is dark enough, you can see the stars.” 
― Ralph Waldo Emerson

Well, sometimes you don't need darkness to see stars. Make one yourself and you will see stars even during daytime...ok...I am talking here about making one all by yourself using paper and here's where Origami comes to help you!

Now, I don't know who is the original designer of this star model but it is probably one of the easiest origami star models, you will find on the internet that comes under the category of modular. All you need is just two equally sized square sheets and follow the instructions closely and you will be able to make an 8-pointed star in just a few minutes. 


In this post, I am giving you a picture tutorial for making the origami star. Found the pictures in my archive folders...have many such pictures but time is a constraint. However, here you will find a detailed step by step tutorial showing you how to make an 8-pointed star using just two square sheets of paper. Fold along with the pictures and you will end up making a pretty star during the daytime!

Category:Modular
Level of Difficulty: Easy. On a scale of 5, I will give it a 2. 
Need to know: Pinwheel Base, Petal fold.
Materials required: 2nos. square sheet. Here we have used 10 cm square sheet for the tutorial.

Procedure: 
If you know how to make a pinwheel base, it is easy from there. However, if you don't then let's just start from the beginning. 

art hours tutorial
Steps to fold an Origami Sunburst Star

Step by Step Procedure:

  • Step 01: Start with a square sheet with white side on top. Here, we have used the same color on both sides. Apply the valley folds on the white side dividing the sheet into 16 equal parts. Also, apply valley folds along both the diagonals.
  • Step 02: Turn the sheet over and fold all the four corners of the sheet to the center. 
  • Step 03: Turn it over, follow the creases to get the pinwheel base. 
  • Step 04: Fold the corners as shown to the centre
  • Step 04b: Open the corners and squash them to four squares.
  • Step 05: Now apply the valley folds as shown one by one to every square. Also, called the petal fold.
  • Step 06: Next peel open the layers along the creases to get diamond shapes at every corner.
  • Step 07: Turn over the model.
  • Step 7b: Fold the tips down for all the four squares. One unit with four points is ready.
  • Step 08: Make one more similar unit.
  • Step 09: Place one module over another and secure the stars together by folding the tips down.
  • Step 10: The 8-pointed star is ready. 
You can make many such stars and use them for cards, decorations or as gift toppers. Try using glossy sheets to get the shining and twinkling effects if you wish to...

If you make one, do post the pictures here. Would love to see your origami models too.

Hope the tutorial is helpful.

Thank you for stopping by. Have a good day!

Note: 
We make a lot of handmade paper products customized on request by clients...Do visit our profile on instagram to view the latest on our products....www.instagram.com/archguide16. Do like, comment and share. Message us directly or write to us with your requirements to help you serve better.

---

12 Nov 2017

World Origami Days Celebrated!


World Origami Days was founded by an American Committee to spread awareness about Origami. The World Origami Days is celebrated every year beginning from 24th October to 11th November. Also, Japan celebrates 11th November as Origami Day.


I am not a member of any committee but I love Origami, and since the day I started practicing Origami I have no regrets.

We celebrated the World Origami Days at Art Hours, by folding a new origami model every week. (Here, 'we' implies my daughter and me).

Origami is a challenge to me and folding a new model gives me immense satisfaction and peace. Generally, I don't follow video tutorials but prefer to search for diagrams instead. The entire process, beginning from understanding the fold diagram to folding the entire model, is like solving a puzzle -and this is where the entire fun and challenge lies. Watching a video to fold an origami model is no fun for me - it's like you are reading a mystery story and your killjoy friend tells you the ending of the story, or you go to watch a suspense movie and somebody tells you the end - same is the case with doing origami. If you know the ending it is no fun...However, sometimes I do watch videos when the folds are too complicated, but not all origami models have video tutorials so that makes me happy as I can continue taking up new challenges!

'World Origami Days' was just a pretext for us to try some new origami models. Thanks to the wonderful creations made by the origami artists around the world and thanks to them for uploading the origami diagrams and tutorials on the internet. It has helped origami lovers like us and many others around the world, to fold and explore new origami models.

In this blog, I am not only posting the origami models we attempted but also the links to the tutorials which we followed, wherever possible. We attempted a new model each day beginning from 24th October to 10th Nov. Unfortunately on the last few days of the World Origami Days when I had planned to conduct a workshop, I fell sick and I had to cancel the workshop. I, hereby apologize to all those students who were keen to attend the origami workshop but I had to cancel the same due to my personal health issues. Hope to see them participating in our future workshops.

Day 01: Mandala Serenata
Design Credit: Vagner Alves/Carla Godoy
We folded a variation of the original model as we learned to fold it from a video tutorial and here's the link to the same: https://www.youtube.com/watch?v=8_C01a1GQ5c
Model details: 
Category: Modular Origami
Level: Intermediate, On a scale of 1 to 5, I would give it 3.5 stars (with 1 being easy and 5 being most difficult in terms of complications in folds involved)
Uses rectangular units
We folded it using a gift wrapping paper
Mandala Serenata folded by Art Hours

Day 02: Variation of Mandala Serenata
Design Credit: Carla Godoy
We folded a variation of the original model as we learned to fold it from a video tutorial and here's the link to the same: https://www.youtube.com/watch?v=8_C01a1GQ5c
Model details: 
Category: Modular Origami
Level: Intermediate, On a scale of 1 to 5, I would give it 3.5 stars
Uses rectangular units
We folded it using colored printer paper.
Variation of Mandala Serenata folded by Art Hours

Day 03: Mandala Tamba Taja
Design Credit: Falk Brito
We folded the model following an origami diagram. You will surely get it on the internet.
Model details: 
Category: Modular Origami
Level: Intermediate, On a scale of 1 to 5, I would give it 3.5 stars
Uses rectangular units
We folded it using origami paper.
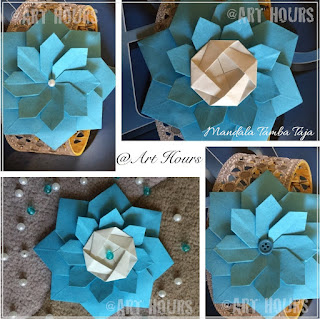
Origami Mandala Tamba Taja folded by Art Hours

Day 04: Origami Tico Star
Design Credit: Maria Sinayskaya
We folded the model following a video tutorial and here's the link to the same: https://www.youtube.com/watch?v=QyZKB4eaD1A 
Category: Modular Origami
Level: Intermediate, On a scale of 1 to 5, I would give it 3.5 stars
Uses square units, requires no glue.
We folded it using origami paper.
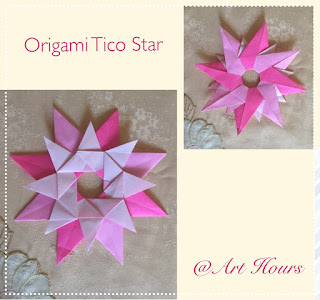
Origami Tico Star folded by Art Hours

Day 05: Origami Clutch Purse
Design Credit: Chrissy
We folded the model following a video tutorial on paperkawaii.com
Category: Single Sheet folding
Level: Intermediate, On a scale of 1 to 5, I would give it 3 stars.
Uses square sheet of size 6"
We folded it with an origami paper.
Origami Clutch Purse folded by Art Hours

Day 06: Origami Navigator Star
Design Credit: Maria Sinayskaya
We folded the model following an origami diagram, you can surely find it on the internet.
Category: Modular origami
Level: Easy, On a scale of 1 to 5, I would give it 2 stars
Uses 4 square units, requires no glue.
We folded it using colored printer paper sized 8.7 cm square each.
This one is fun to fold and even kids can try folding this one. My kid had fun folding this one.

Origami Navigator Star folded by Art Hours

Day 07: Origami Mandala Macuxi
Design Credit: Falk Brito
We folded the model following an origami diagram, you can surely find it on the internet.
Category: Modular origami
Level: Intermediate, On a scale of 1 to 5, I would give it 3.5 stars
Uses 8 rectangular units.
We folded it using gift wrapping paper sized 10cm x 3cm.
Mandala Macuxi folded by Art Hours

Day 08: Origami Humming Bird
Design Credit: Not sure
We folded the model following a video tutorial by Mohamed Galal and here's the link to the same: https://www.youtube.com/watch?v=Si-Mhbu3UCI&t=1s
Category: Single sheet folding
Level: Difficult, On a scale of 1 to 5, I would give it 5 stars.
Though the model is difficult to fold, the video tutorial is very clear and elaborates every step with accompanying diagrams of the folds.
We folded it using McDonald's carry bag paper. 
Origami Humming Bird folded by Art Hours

Day 09: Origami Elephant
Design Credit: Fumiaki Kawahata
We folded the model following a video tutorial by Leyla Torres and here's the link to the same: https://www.youtube.com/watch?v=InIpbaPdA54
Category: Single sheet folding
Level: Intermediate, On a scale of 1 to 5, I would give it 4 stars
We folded it using 6" square origami paper.
Origami Elephant folded by Art Hours

Day 10: Origami Lotus
Traditional design. You can find lots of diagrams and tutorials on the internet hence am not posting a link.
Category: Single sheet folding
Level: Easy, On a scale of 1 to 5, I would give it 2 stars. 
We folded it using tissue papers.
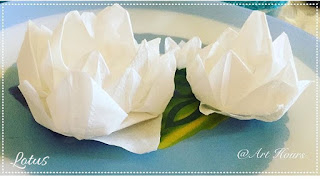
Origami Lotus folded by Art Hours

Day 11: Origami Miniature Mandalas
Design credit goes to many artists. You can find the links to many such stars and patterns in Origami-club.com.
Category: Modular Origami
Level: Easy, On a scale of 1 to 5, I would give it 2 stars
All the models below have 8 square units.
Used paper scraps as units which were as small as 1.5cm squares
We folded it using colored printer paper.
Miniature Mandalas folded by Art Hours

Day 11: Origami Long Bookmarks
Category: Single Sheet folding


Heart Bookmark
Design credit: Jo Nakashima and here's the link to the video tutorial: https://www.youtube.com/watch?v=gml2j4bvT88
Level: Intermediate, On a scale of 1 to 5, I would give it 3.5 stars
Well, those who know Jo Nakashima's Origami Models would agree that his designs are not easy as they look!

Crane bookmark
Design credit: Bob Stack, Video tutorial by Yakomoga and here's the link: https://www.youtube.com/watch?v=UdYTw1u8xk8
Level: Intermediate, On a scale of 1 to 5, I would give it 3 stars

Both the models can be folded from a rectangular sheet.
We folded the bookmarks using origami paper.
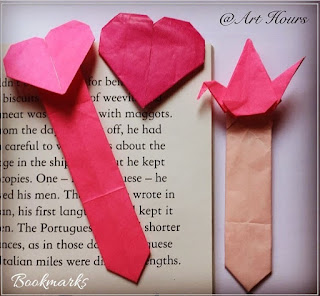
Origami Long Bookmarks folded by Art Hours


Day 12: Origami Long Bookmarks
Category: Single Sheet folding


Pencil Bookmark
Uses a rectangular sheet of paper.
We watched a video tutorial for this bookmark and here's a link:https://www.youtube.com/watch?v=Z73dByO_PVI
Level: Easy, On a scale of 1 to 5, I would give it 1 star.

Crane bookmark
Uses a square sheet of paper.
We followed a picture tutorial on http://www.all-about-origami.com/
Level: Easy, On a scale of 1 to 5, I would give it 2.5 stars.

Cat bookmark
Amongst all of the long bookmarks, we folded, this one had complicated folds and I have lost the link to the tutorial. Sorry for this one!
Level: Intermediate, On a scale of 1 to 5, I would give it 3.5 stars.

We folded all the bookmarks using origami paper.
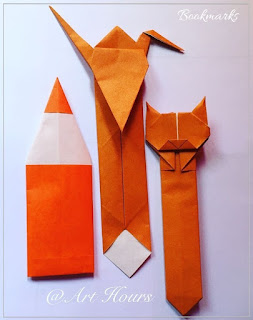
Origami Long Bookmarks folded by Art Hours


Day 14: Origami Spiral
Design Credit: Tomoko Fuse
Category: Modular Origami
Level: Easy, On a scale of 1 to 5, I would give it 3 stars.
Uses 4 square units, requires no glue.
We watched a video tutorial for this one by paperfolds. While I made the units, my kid enjoyed assembling this model.

Origami Spiral folded by Art Hours

Day 15: Origami Magic Circle
Design Credit: Not sure
Category: Modular Origami
Uses 8 square units, requires no glue.
We watched a video tutorial, for this one and here's a link: https://www.youtube.com/watch?v=cb0ICsjkl14
Level: Easy, On a scale of 1 to 5, I would give it 2.5 stars.
We used colored printer paper for this model.
This one was folded entirely by my child watching the video tutorial and she had great fun folding this one, for, in the end, she could even play with it!
Origami Magic Circle folded by Art Hours

For the 15 days of World Origami Days, we had awesome fun folding every model. Each day we tried folding a new origami model, we learned and enjoyed on the way. I wish more people could have been a part of this origami exploration!

Anyways, hope the links to the origami tutorials helps those who are keen to learn origami and love attempting new models. 

Thanks for stopping by...have a good day.

Follow us to know more about classes and latest events. 
Now available on Instagram...link/like/share
www.instagram.com/archguide16...

Link and like our FB page at: FB.me/arthours where we post latest details about our classes and activities.

or you can mail us at archguide16@gmail.com for more queries regarding classes and workshops.

Thank you for stopping by.

---

5 Aug 2017

Origami Modular Decoration


We made this beautiful decoration that can be used for decorating greeting cards or can even be used as gift toppers. The best thing about origami is that you don't need expensive papers; you can use paper scraps or recycle newspapers too and you get such lovely creations.

Unlike other typical modular origami models, this model needs to be glued. This pretty origami model can be used for decorating gifts and with the festive season on, I thought this would be the perfect time to post this model.

Origami Category: Modular
Level: Medium

Materials required: 
8 square sheets, glue

We had some paper scraps of size 14.85 cm x 6.15 cm. We got a pair of square sheets each of size 6.15 cm.


Procedure:

Step 01:
Fold the paper in half along one of the diagonals.

You will get a triangular shape of the model as shown in the picture below.


Step 02: 
Now fold down both the corners to meet at the centre. You will get a square shape of the model now.

Step 03:
Next, take the right flap and fold it up, such that the bottom tip touches the top.

Step 04:
Now, apply squash fold to the flap, to get a small square shape on the right side.

Step 05:
On the left side also we will apply a squash fold. However, we don't need to apply the same steps as we did on the right side. Just lift the triangular flap on the left side and apply squash fold to it as shown in the picture below. One modular unit is ready.

Step 06:
Make 8 such similar units.

Step 07:
Now begin assembling the origami decoration. Place the green unit above the red unit and keep overlapping one unit over the another till all 8 units are used. Keep gluing one unit over the another to hold the units in place.

Done:
This is how the completed modular unit will look like. Pretty isn't it?
Origami Modular Decoration

Come August, and we have the beginning of the festive season in India. This pretty origami decoration can be used for various purposes. Just get creative. Use it a gift topper, make a rakhi out of it, decorate your houses or just make it for fun this season. 

Here's a quick snapshot on our youtube channel.


Hope this tutorial is helpful.

Thank you for stopping by. Have a good day!

23 Mar 2017

Origami Dahlia Flower Tutorial


Learn to fold this easy origami Dahlia flower designed by Makoto Yamaguchi. It does not involve any complicated folds and even kids can try making them. However, this is not traditional origami and involves using 8 modular units.

Category: Modular Origami partially since it involves using glue.
Level: Easy

Materials required:
Square paper - 8 nos.
Glue to stick the units together.

Procedure:
Here, we have used 6cm square paper colored on both sides. If you use an origami paper, you can start by keeping the white side on the top.


Now follow the steps closely to understand how to fold the flower.

Step 01: Note the creases made along both the diagonals.

Step 02: Fold the top and bottom tips to meet the crease at the center.

Step 03: Now, fold the top and bottom edges to meet at the centre.

Step 04: Now fold the unit backwards along the centre line.


Step 05: Now fold the entire unit into half along the center to get a pair of petals as shown below. This makes one unit of the dahlia flower. Here, it is advisable to apply a little glue between the petals, to make it easier to assemble the entire flower.

Step 06: Make 8 such units. 
Note, in the picture below, glue has been applied to some of the units only since the picture was taken in the process of applying glue to the units.

Step 07: Add some glue to the sides of both the units and keep adding one unit after the other till you are done with all 8 units.

Done: The origami Dahlia flower is ready

The final size of the flower model is @ 9cm in diameter.

You can watch a quick snapshot of the Origami Dahlia flower uploaded on youtube below.


Post your comments below if you have tried making this one.

Thank you for visiting this post.

11 Oct 2016

Origami Crane Wreath

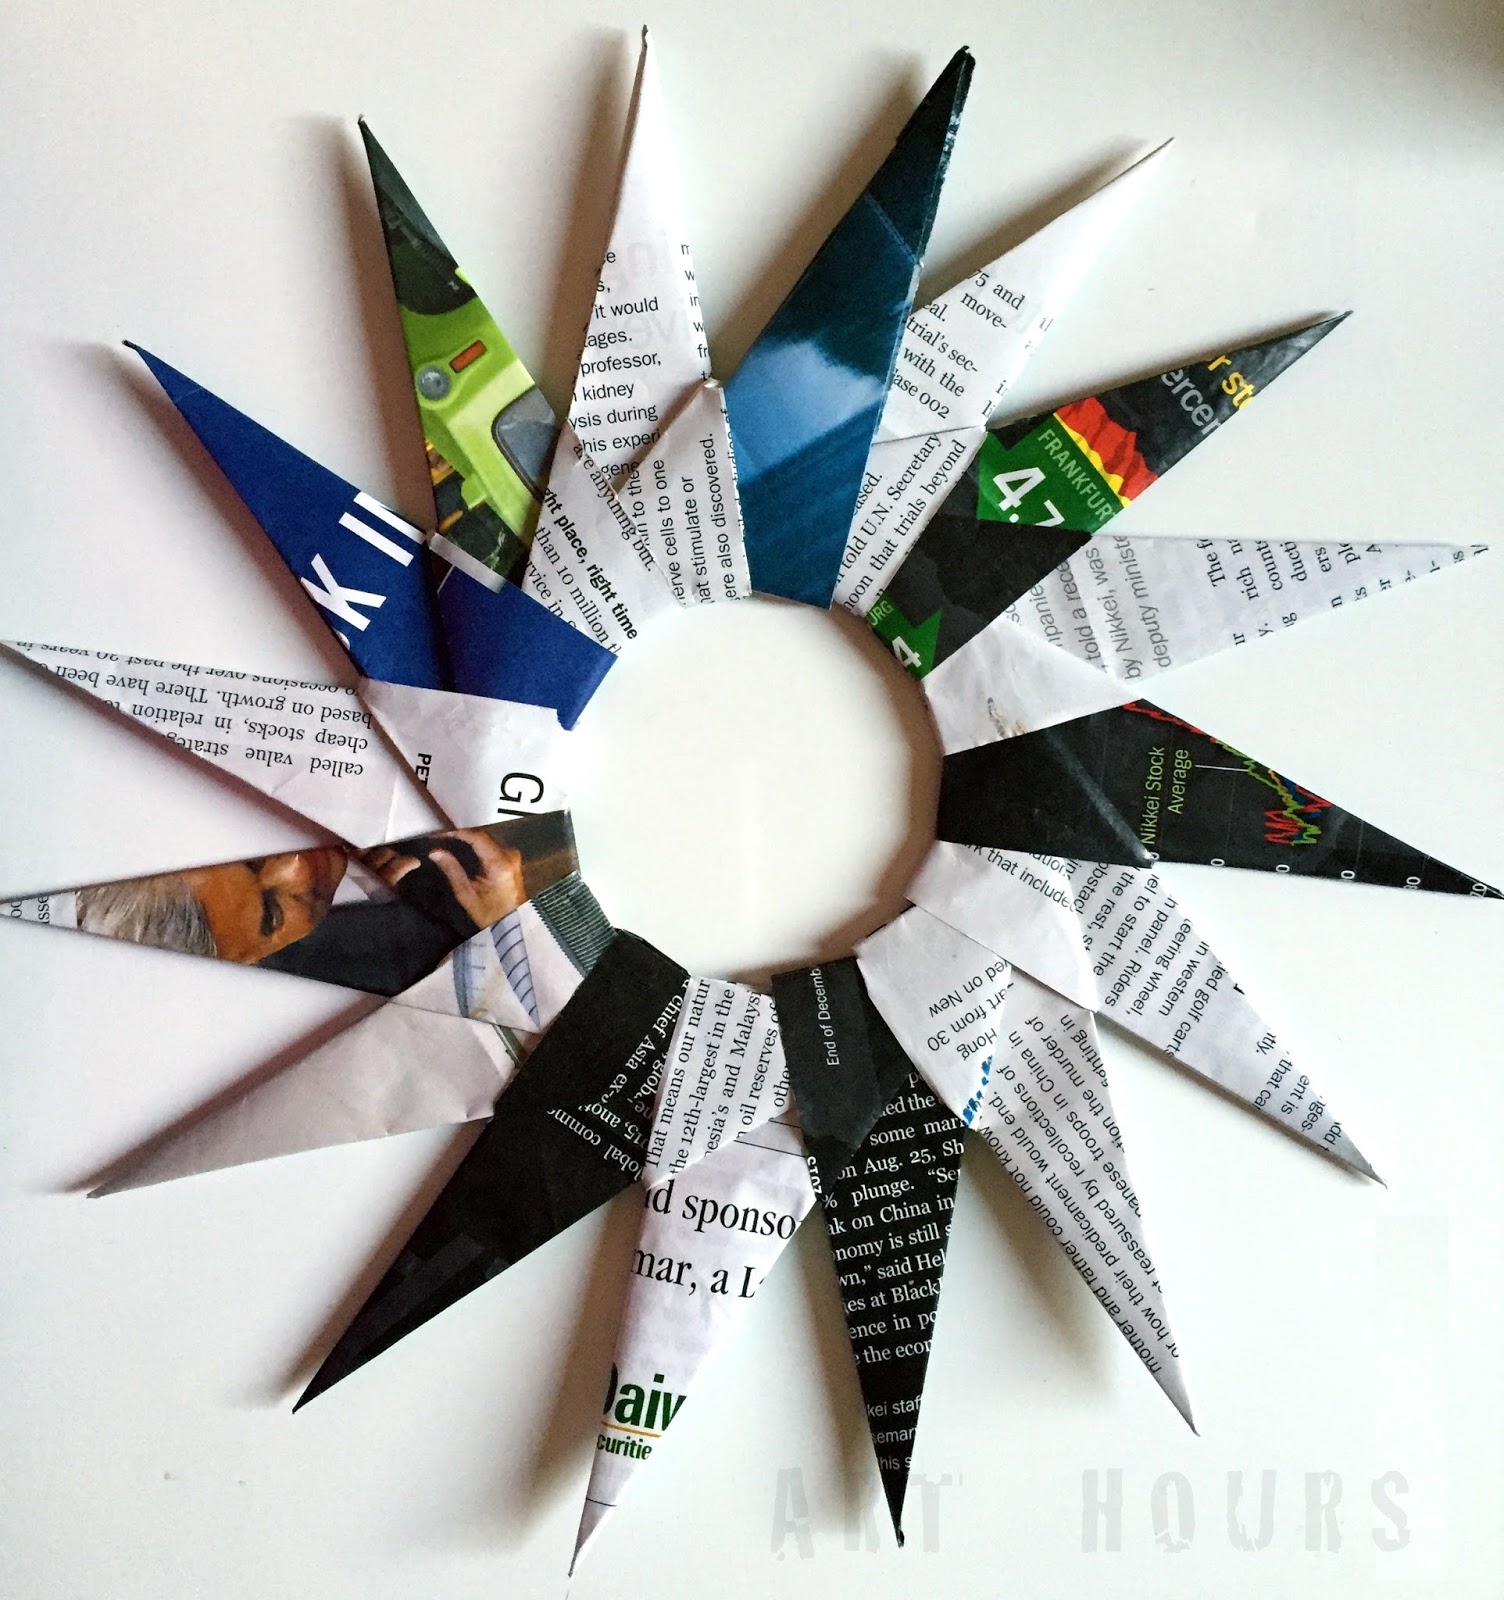
I made this crane wreath yesterday and wondered whether to post it or not. It looked too beautiful and surely I couldn't resist posting this one. It took a long time to make, folding and refolding and then finally assembling it, but once done it was a pretty one. There was no need of glue and also no paper cutting involved for this one. Took many breaks in between for I was at loss of patience when I made a couple of these crane units. The final result was a cute little origami wreath.

Crane Wreath
Category: Modular Origami
Designed by: unknown
Level of difficulty: Intermediate
Material used: Rainbow sheets of size 8.7cm x 8.7cm squares. 
Final size of the wreath: Outer diameter of size 12cm.

I named it the Rainbow Crane Wreath since it uses the colors of the rainbow. 
Origami Rainbow Crane Wreath
---

1 Aug 2016

Tutorial for an 8-pointed Modular star

Here's a tutorial for a simple 8-pointed modular star pattern that starts with a square base. Of the many origami patterns and stars, you will find on the internet, most of them start from the traditional origami base or folds.  If you are aware of the origami basic folds and bases, then this star is very easy to make.

8-pointed Star Pattern with an Origami ladybug in centre
Materials used:
- 8 square sheets of size -10.5 cm x10.5 cm, using two shades of yellow color paper
- A glue stick for gluing all the units together and that's all.

Procedure:
art hours
Tutorial for 8-pointed modular star pattern
Step1: Start with a square sheet with the mountain folds on the horizontal and vertical direction; and valley folds in both the diagonal directions. 
Step 2: Once you get the creases from the above step, squash fold to get the square base.
Step 3: Fold the sides as shown to make a crease and then unfold
Step 4: Fold the top to get a crease
Step 5: Unfold to reveal the creases
Step 6: Open the flap following the creases as shown.
Step 7: Flatten it to get a diamond shape.
Step 8: One unit for the star is ready. Make 8 such units.
Start assembling the star by inserting the flap of one unit below the other unit. You can glue them as you add one unit after the other.
The 8-pointed modular star pattern is ready.

Suggestion and Tips:
You can make every unit of different color paper or you can alternate it with two or four different shades of color to make it look more attractive.

Uses: You can use it as a center table decoration, or as a wall piece too. You can also make many such stars and use it for party decorations.

For any queries regarding this tutorial, you can mail me at archguide16@gmail.com.

19 May 2016

What is Modular Origami: A Teeny-Weeny Glimpse to the World of Modular Origami

We have often seen or heard the word Modular Origami. Do you know what it really is?

Let's have a brief glimpse on Modular Origami today.

nupur acharjya
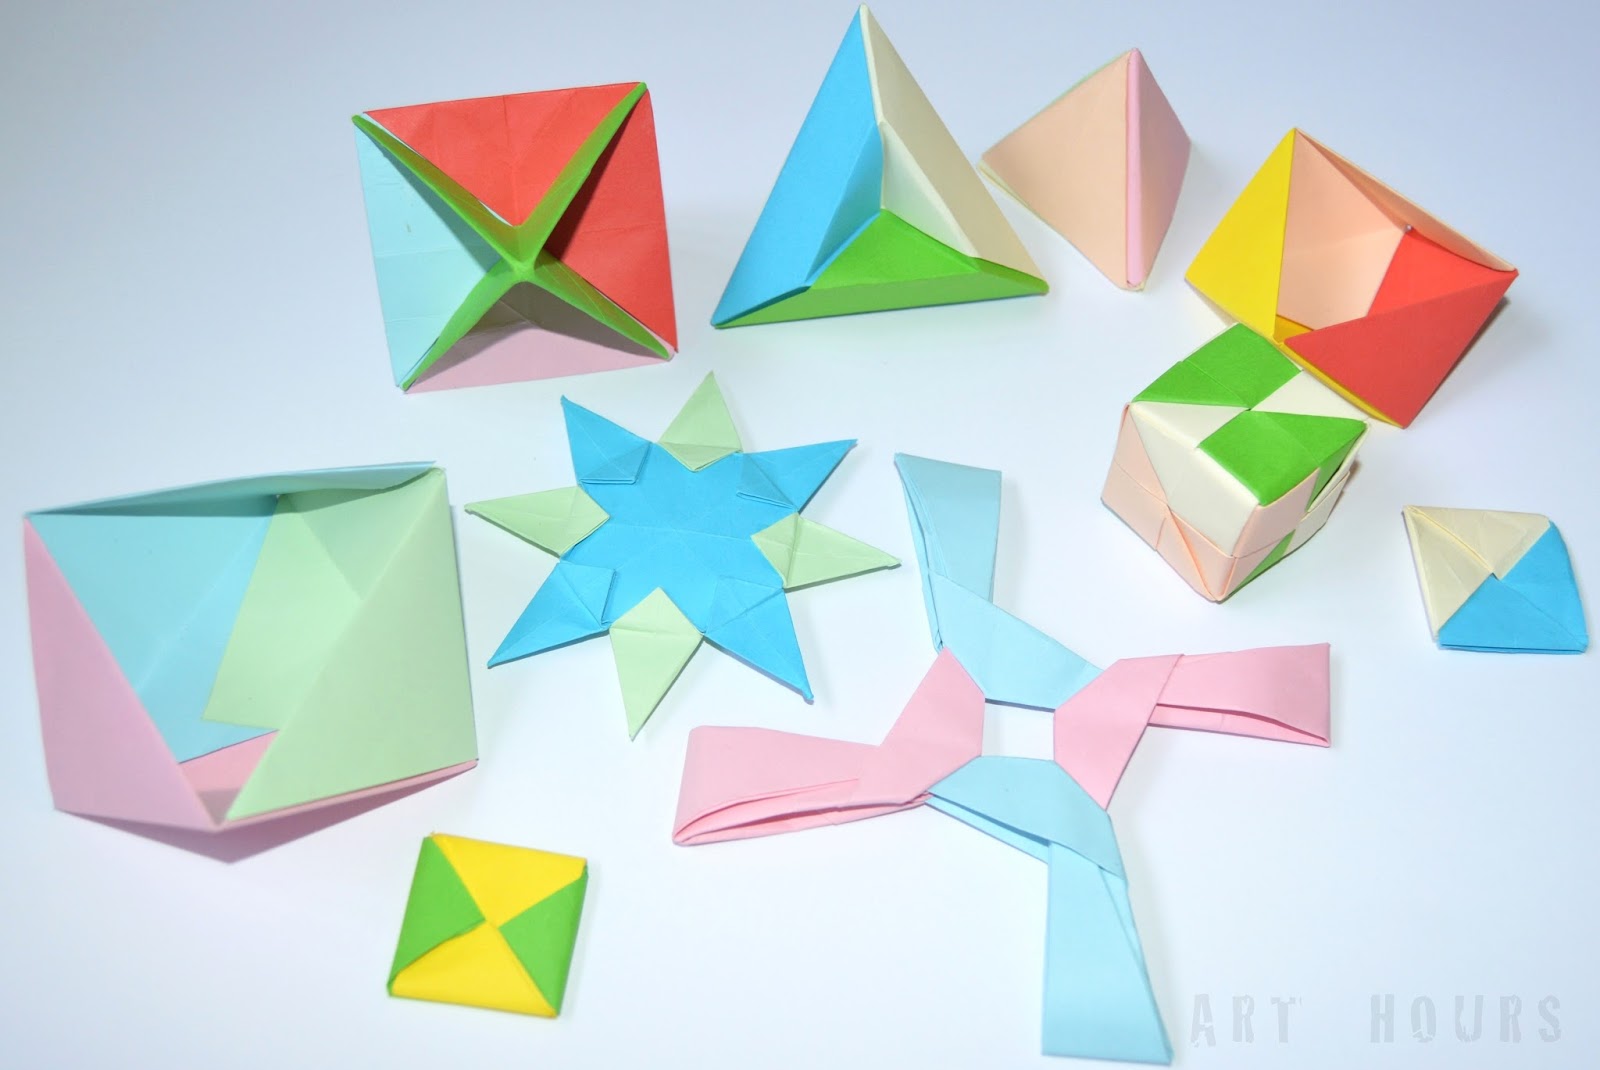
Modular Origami with Polyhedrons
When you google on the internet on modular origami, you will find various versions and answers. So here we go....

What is Modular Origami?
Modular Origami or Unit Origami is a paper folding technique which uses two or more sheets of paper to create a larger and a more complex structure that would not be possible using single-piece origami techniques. Each individual sheet of paper is folded into a module or a unit, and then these modules are assembled into a flat shape or 3D structure by inserting the flaps into pockets created by the folding process. Assembling them requires no glue or thread.

What holds the model together?
The insertions create tension or friction that holds the model together.

Historical Evidence:
If you want to know the history then there's a lot of information on the net on that too. However, the first historical evidence for a modular origami design comes from a  Japanese book by Hayato Ohoka published in 1734 called Ranma Zushiki.

Some of the most Popular Modular Origami designers include:
Misonobu Sonobe, Tomoko Fuse, Kunihiko Kasahara, Miyuki  Kawamura, David Mitchell, Heinz Strobl and yes, I was immensely pleased to find an Indian name on the list: Meenakshi Mukherjee.

There are several traditional Japanese modular origami designs. The modular origami forms may be flat or 3-D. The flat forms are usually polygonal forms, stars, rotors or rings while the 3-D forms tend to be regular polyhedra or tessellations of simple polyhedra. They have been named after the person who designed and first folded them.

Modular origami techniques have been used to create boxes with lids, containers etc. Tomoko Fuse is a name synonymous with modular origami boxes. If you happen to find then there's a book called 'Fabulous Origami Boxes' by Tomoko Fuse. 

To keep it simple and short, Modular Origami is a two staged paper folding technique, which uses multiple sheets of paper. The first stage is to fold individual sheets of paper into identical modules or units. In the second stage, the modules are assembled into an integrated flat shape or a 3-D structure.

Some people love modular origami while some do not like the idea of folding the same units a number of times. It all boils down to the fact that you need to have a fair amount of patience and love for the art of folding.

Here is a teeny-weeny glimpse of some modular flat origami forms designed by different people from around the world and folded by me, to understand and explain the concept of Modular Origami better to all of you out there.

nupur acharjya archguideforyou.blogspot.com
The 8-pointed Modular Origami Star
The above beautiful 8-point modular origami star is fairly simple to fold and requires minimal patience. I am not sure as to who originally designed it but discovered this star's diagram that was made by Fumiaki Shingu.

archguideforyou.blogspot
16-point Modular Origami Star 
This requires 16 units to be assembled together. It is easy to assemble the modular units but requires a lot of patience since you have to keep folding 16 similar units. 

nupur acharjya
Traditional Ninja Star
nupur acharjya
The Rotor/Frisbee - Designed by Francisco Caboblanco
Modular Origami can be fun for the kids as they enjoy folding these small toys like the traditional ninja star and the frisbee/rotor as shown in the pictures above.

nupur acharjya
8-point Star - Designed by Tomoko Fuse
This 8-pointed star known as 8-point Fuse star is named after the renowned Japanese Origami artist  -Tomoko Fuse. Such stars make beautiful pieces for decoration during parties or ceremonies.

Now let's have a look at the 3-D structures/polyhedrons possible using Modular Origami. Again, these have been designed by different people and accordingly named after the designer.

nupur acharjya
From L to R : Tricorne, Triangular pyramid, Triangular Boxes
The above tetrahedrons are easy to assemble. The Tricorne as designed by David Mitchell, shown in the picture in the extreme left corner, is a tetrahedron with 12 faces and is assembled using only 3 modular units. Similarly, the triangular pyramid with 4 equilateral triangle faces (next to the tricorne in the picture above), is made from 4 units only. While the two triangular boxes that you see are made using only 3 modular units each and is designed by Francisco Caboblanco.

nupur acharjya
From L to R: The Sonobe Cube and
The Japanese Menko
In the above picture you see a 3D cube designed by Sonobe Mitsonobu, hence the name. It uses 6 modular units interwoven into each other. The small flat 2D shape lying next to the Sonobe Cube is the traditional Japanese Menko, a traditional origami envelope. It was real fun folding this one and you need to interlock only 2 units into each other.

nupur acharjya
The Jackson Cube
The above simple cube is really very easy to fold and named Jackson cube after the person who designed it of course. It is much simple and easier to fold this one as compared to the Sonobe cube. A must try for all kids or beginners who want to start origami.

The above examples I have cited are just some small examples of Modular Origami. There are a plethora of possibilities with Modular Origami. I hope this article helps you initiate and explore the world of Modular Origami.
---