Showing posts with label color pencil shading. Show all posts

22 Jun 2017

Sketching the Dolphins: Pencil Shading Guide

If you love sketching animals and especially Dolphins then you have landed to the right page. 

Lately, we did a lot of artwork related with Dolphins. We made some origami dolphins and did some sketching of Dolphins.

Dolphins are simply adorable and today this tutorial will show you how to draw a pair of Dolphins jumping out of the sea. For this sketching exercise, you will need an HB pencil, an eraser, some color pencils such as dark blue, light blue, orange, yellow, red and gray.


Let's start with the simple tutorial on learning to sketch the dolphins jumping out the water. Follow the steps closely and I am sure it is not that difficult as it looks.

Step 01: Firstly begin with rough outlines of the sea line, and the twin dolphins one behind the other.


Step 02: Next, add the fins.


Step 03: Now, define the mouth area.


Step 04: Add the tail in this step.


Step 05: Add the eyes and complete the fins as shown. The rough sketch of the dolphins is ready.


Step 06: Start applying pencil shading to the body and the tail end.


Step 07: We have just used an HB pencil to add shades. You can try with a 2B pencil too. Use gradiated shading technique here. Apply pencil shading by laying pencil lead sideways. 
Pencil Shading with 2B pencil

Step 08: We also added some dark blue in the dark areas as shown below. Complete shading the dolphins by adding some gray color at the bottom part of the dolphin.


Step 09: Now, add the details for the waves and water splashing around the dolphins as they jump out of the water.


Step 10: Using dark blue and light blue complete the waves. 


Step 11: We added the sun too in the background. Use orange and yellow for the sun at this stage.
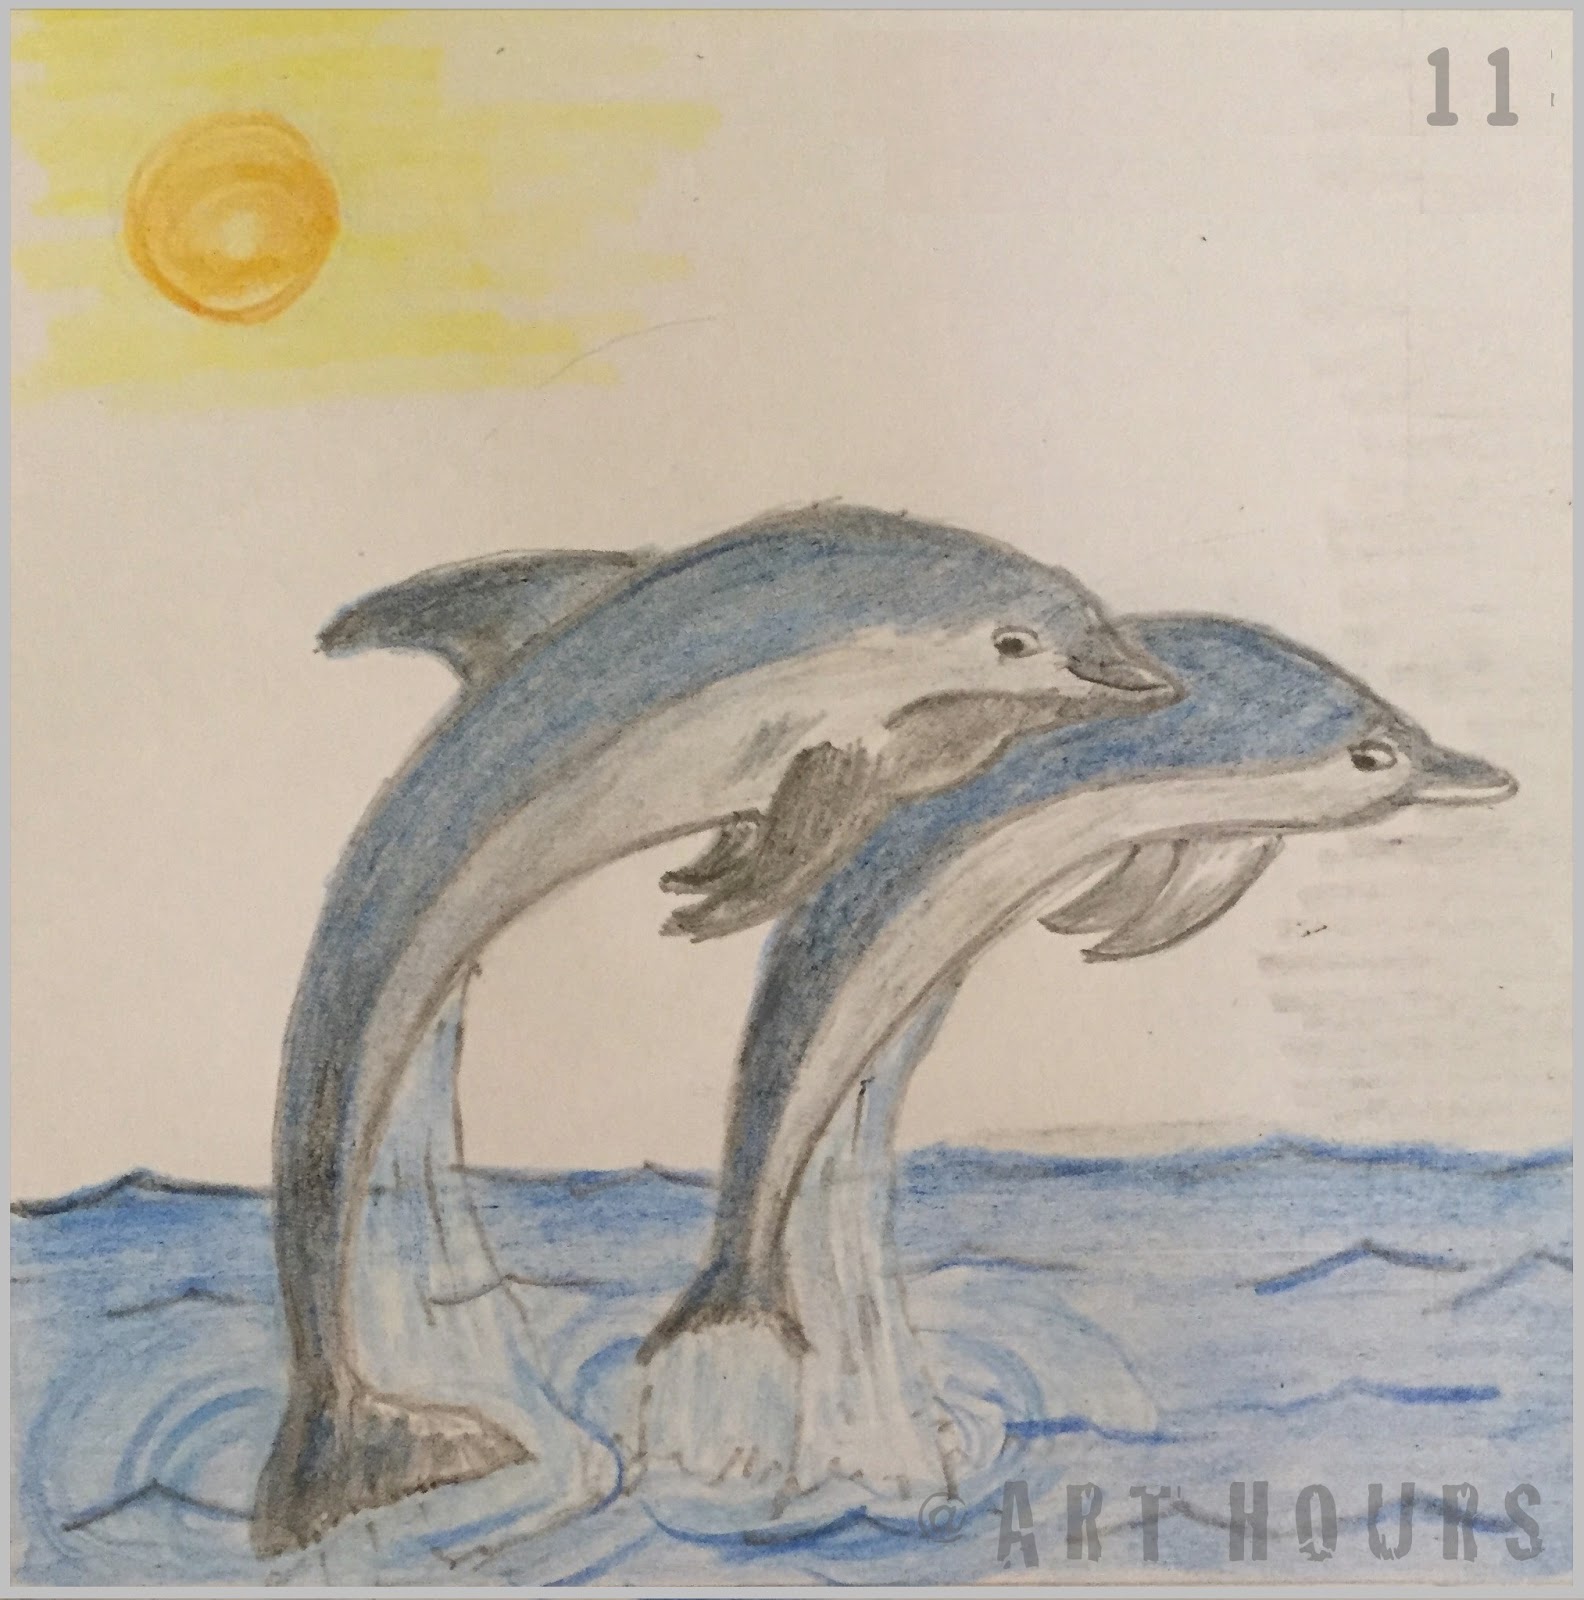

Step 12: Add dashes of red also to highlight the sunlight spreading across the sky and blend it with the light blue color for the sky.


Finally, use the eraser to remove some of the oranges and yellow and blend the colors. Also, use the eraser to remove some blue color around the tail of the dolphins to show the water splashes as they rise out of the water.
A Pair of Dolphins jumping out of the sea

Hope this tutorial on sketching the dolphins was helpful. Let us know in your comments. Here's a snapshot of the Dolphin sketching by Art Hours students.

Dolphin Sketching by our students

Thank you for stopping by.

---

7 May 2017

Sketching Tulips - Pencil Shading Guide


“A tulip doesn’t strive to impress anyone. It doesn’t struggle to be different than a rose. It doesn’t have to. It is different. And there’s room in the garden for every flower. You didn’t have to struggle to make your face different than anyone else’s on earth. It just is. You are unique because you were created that way. Look at little children in kindergarten. They’re all different without trying to be. As long as they’re unselfconsciously being themselves, they can’t help but shine. It’s only later, when children are taught to compete, to strive to be better than others, that their natural light becomes distorted.” -―Marianne Williamson

These words, by the spiritual teacher and author, Marianne Williamson, really impressed me. They are so true in today's age of competition and survival of the best and the fittest and God knows what not., that we have forgotten to be ourselves, we only want to study to compete, we want to participate to win...this attitude of ours to be a winner in every race has not only made our life stressful but we have put this same pressure on our kids too. We don't give them their space to think, to play, to live, to thrive and be happy. 

I don't know how many of you will even bother to read this blogpost...but whoever reads this I hope will understand and agree that life is not just about winning and shining, competing and thriving, but it is a lot more than that. It doesn't matter if we don't win a trophy always, what matters is our happiness, the moments of love and laughter that we share with our family and friends, that makes our life worth living.

Anyways, let us move on to the main topic of this post, that is, learning to draw and render a bunch of tulips. Drawing tulips is not very difficult. Nothing is difficult if you put your heart in it!


Let's start with a rough sketch first. Draw a rough outline of the tulips and draw some broad leaves as shown in the sketch below. Use an H or HB pencil to start with. We don't want the pencil lines to be seen in the final shading hence light rough outlines will do. 


Define the petals and the stem in this step. Remove any unnecessary lines or pencil marks at this stage. The rough drawing is ready to color. 


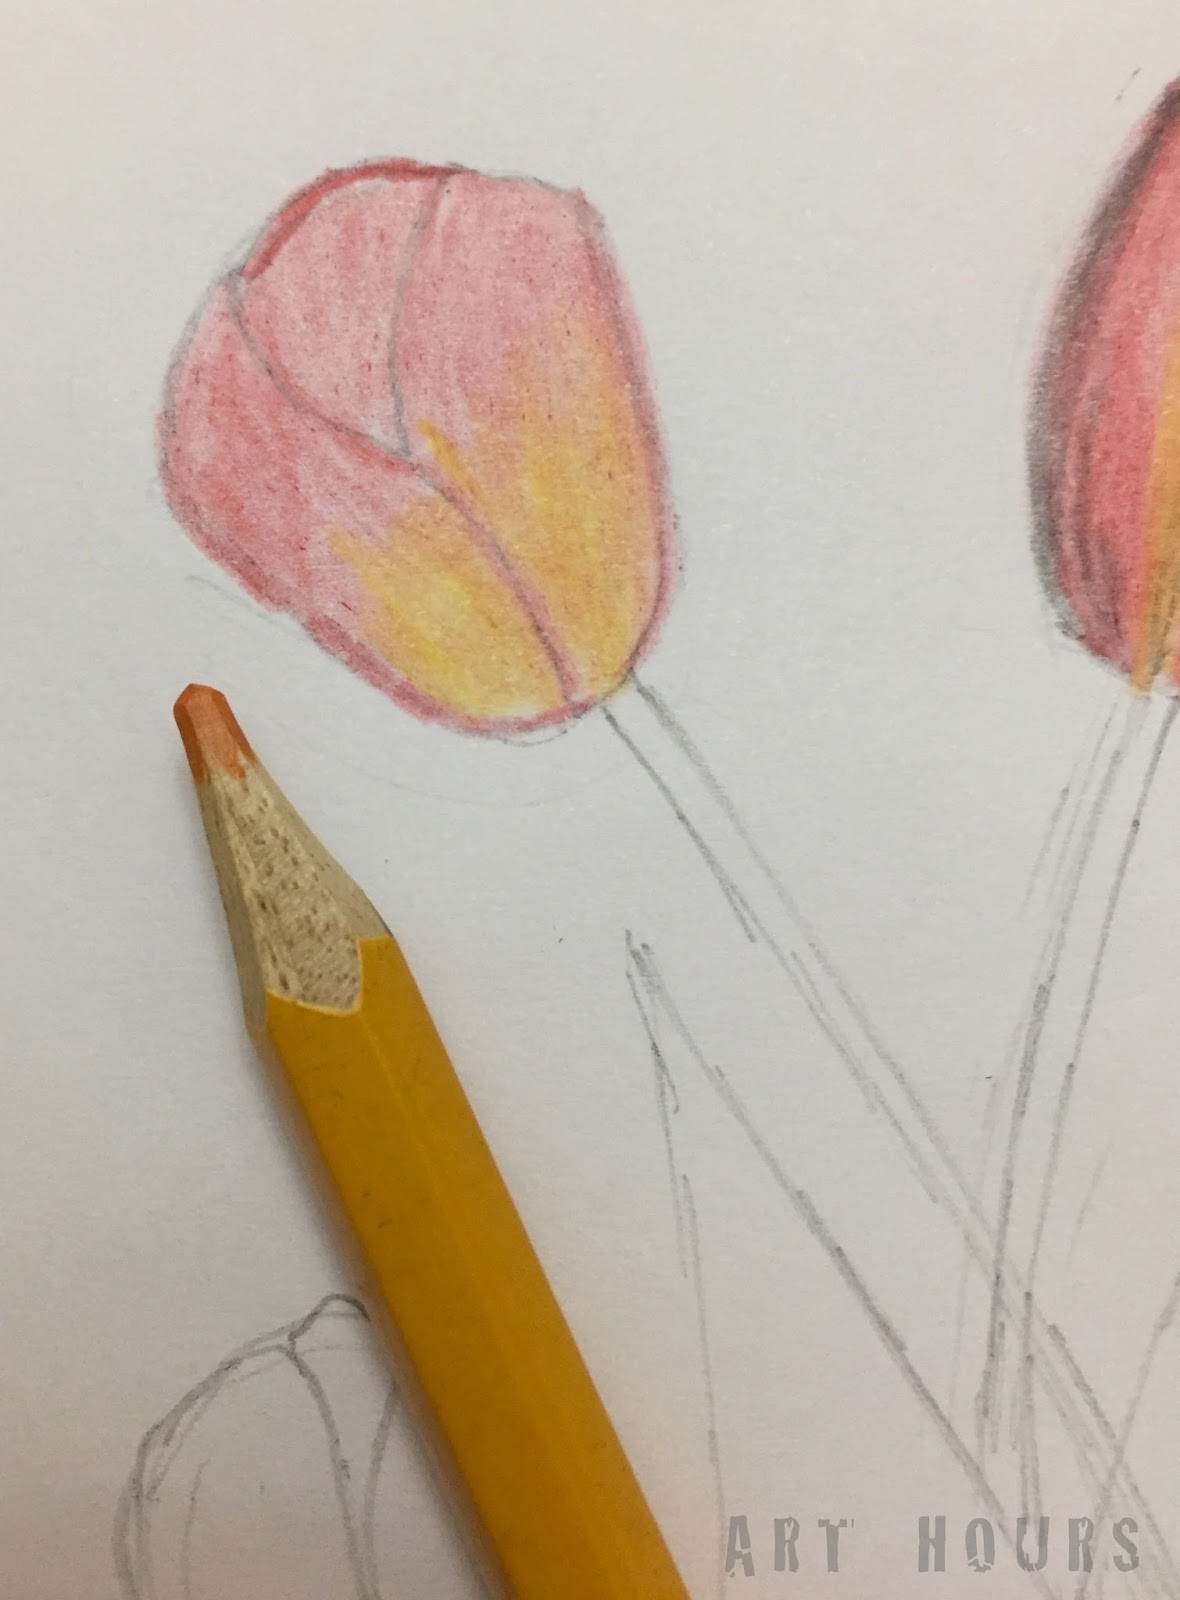
Now begin coloring. For the tulips, you will need three color pencils as shown below: red, ochre and black. Instead of ochre, you can use a yellow color instead.


Begin with the red color first, leaving white spaces where you would add the yellow or the ochre color later.


Add the yellow or the ochre and blend it with the red color applied in the last step. The picture below shows how the flower would look after blending yellow with the red.


Add black wherever you want to show the dark areas to the flower, preferably to the petals at the back.


Once the flowers are done, take a dark green color pencil and start with the base of the flower and the stem.

You can even highlight the borders first using the dark green color pencil.

For coloring the stem and the flowers, you can color with dark green and also add some browns or ochre yellow later.

Once all the stems and leaves are colored with green and brown/yellow, you can add some blacks to some areas as shown below.

Once the bunch of tulips is done, it is time to add a background to the sketch. Using a yellow ochre fill up the entire background and then add orange shading near the flowers and the leaves to highlight the area near the flowers and the leaves as shown in the sketch below.


Here's a quick snapshot of the entire process on our youtube channel.


Hope this tutorial on sketching the tulips is helpful.

And, here are some tulip sketches, rendered by our students.


Thank you for stopping by. Have a good day.

---