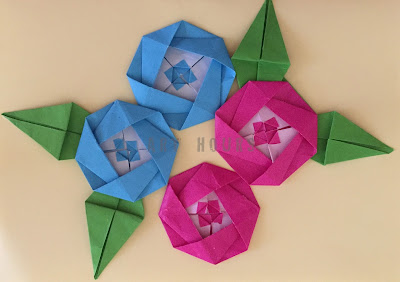
With Navratri and Durga Puja just round the corner, a bunch of festivals is lined up, one after the other; this is the time of the year we all Indians eagerly wait for the whole year, to celebrate and enjoy with our families and friends.
It is customary in every Indian home to light up the diyas during this festive season. Even in this era of advanced technology where it has become easier to decorate your house with electric lights, which will only remove darkness, the spiritual significance of lighting a traditional diya still hasn't lost its importance. As parents, it is our concern to involve our kids during this festivities and keep their interest alive in our traditions. So here's an easy craft idea for kids for this festive season which they can learn with joy; learning to make a paper diya - an origami diya for this festive occasion.
 |
| Origami Diyas |
Procedure:
This origami diya is very easy for kids to try and doesn't involve any complicated folds. So just follow the procedure closely and enjoy folding an origami Diya this season.
Materials required:
All you need is square colored sheets and some sequins or colors for decoration. Here, in this tutorial we have used a simple gift wrapping paper with one side colored.
Step 1:
Start by keeping the white side of the paper facing you. Make a vertical diagonal crease by folding the paper into half and then unfold it.
 |
| Step 1: Make a vertical diagonal crease |
Fold in the two corners to touch the central crease and you will get a kite base.
 |
| Step 2: Fold in the two corners to get a kite base |
Turn it over. Note the crease for the next fold.
 |
| Step 3: Turn over. Note the crease for next fold. |
Fold in the bottom part up to get a crease and then unfold it.
 |
| Fold the bottom part to get a crease and unfold. |
Step 5:
Now fold the bottom tip to touch the midpoint of the crease.
 |
| Fold the bottom tip to touch the crease |
Fold in the bottom part again to touch the crease.
 |
| Step 6: Fold in the bottom part to touch the same crease. |
Fold the bottom part again, this time along the crease.
 |
| Step 7: Fold the bottom part along the crease. |
Turn it over
 |
| Turn it over |
Now fold in the bottom part upwards and you can see the wick behind.
 |
| Step 9: Fold in the bottom part upwards to make the wick visible from behind. |
Turn it over.
 |
| Step 10: Turn it over |
Note the creases on the top side for the next fold. Now fold in the both the top corners to touch the triangular edges.
 |
| Step 11: Note the crease for the next fold |
 |
| Step 11 (contd.): Fold in the top corners to touch the edges of the triangle |
Fold in the bottom edge.
 |
| Step 12: Fold in the bottom edge |
 |
| Step 12 (contd.): This is how it looks after folding the bottom |
Just flip over the model and the origami diya is ready.
 |
| Done: Turn it over and done |
 |
| Origami Diyas are ready |
 |
| Decorate the origami diyas |
Suggestion for use:
You can make these diyas just for fun or you can even use them to make greeting cards and gift them to your friends.
You can a watch a quick video tutorial below.
Do try making this origami Diya and just have fun.
---


